Bike Routes Brisbane: Exploring the City's Best Bike Routes
Brisbane, the sun-soaked, river city, is teeming with bike routes that wind through lush parks, around sparkling waters and across towering bridges. The city's well-developed cycling infrastructure coupled with its mesmerising natural spectacle makes it a haven for biking enthusiasts. If you've got a keen interest in cycling and are pondering exciting bike routes Brisbane, you've landed in the right place. This article serves as your ultimate guide to biking around Brisbane.
Overview of Cycling Scene in Brisbane
Brisbane invites locals and tourists alike to explore its urban and natural beauty via extensive interconnected bikeways. The city, nominated as Australia's Bicycle Capital, offers an impressive network of bike routes.
No matter you're up for a leisurely ride or a more challenging track, Brisbane has got you covered. From the longest bikeway, the Bulimba Creek Bikeway, to the flat scenic rides on the Redcliffe, there's something for every type of biker. And, for those clubbers in the cycling community, or anyone wanting to dive deep into it, there are plenty of local forums that cater to your bike-related queries!
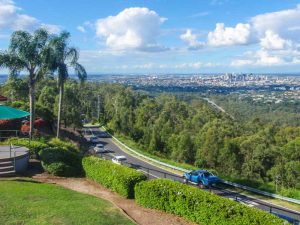
Moreover, the Brisbane River loop allows cyclists to get a good feel of the city while enjoying their ride. For those looking forward to some hill challenges, a ride starting from the Regatta City Cat terminal to Mount Coot-tha is unmissable, offering breathtaking views as you ride up the towering heights.
How to Access Interactive Bikeway Maps
Planning your biking route gets simpler with the right resources. Interactive bikeway maps serve as a valuable ally for this purpose. With Brisbane's comprehensive biking infrastructure, multiple resources like the Brisbane City Council's interactive bikeway map are at your disposal, that outlines various off-road and on-road bikeways.
What's fantastic about Interactive Bikeway Maps is that these provide information beyond just the route. You get to grasp the terrain characteristics, connectivity to other paths, and even facilities available along the paths. Cycling Brisbane's bikeway map compiles a diverse range of bikeways and shared pathways. And if you seek variety, Bikemap lists about 677 cycle routes in Brisbane, filled with unique biking adventures.
Turning on to these resources is an excellent idea when you are stepping on new biking realms or when you feel you've exhausted your usual trails.
Best Bike Routes in Brisbane
Brisbane teems with bike routes that cater to different skill levels and provide unique experiences. For the inner city folks, the Brisbane River Loop encircles the vibrancy of the cityscape and the calmness of the Brisbane River.
Taking you south-east, the Coastal Loop offers the thrill of cycling by the coastline, a must-try for beach lovers. One of your best bets to explore the northern part of the city is through the Northern Bikeways. Trust me, you wouldn't want to miss the lush green trails and the mesmerising sights along the way.
For the space enthusiasts, the cycle to the Sirius Observatory through the Ipswich & Deebing Heights route could be very appealing. And the ride from the Regatta City Cat terminal to Mount Coot-tha, famous for its challenging and scenic uphill trail, will challenge you, motivate you, and awe you all at the same time!
If you happen to be around Wishart, try hopping onto the Bulimba Creek Bikeway, the longest in Brisbane, which passes through the soothing sight of the Carindale Recreational Reserve. On the flip side, the Kangaroo Point Bikeway makes for an excellent beginner-friendly route.
Understanding Different Terrains: Navigating the Hill Routes
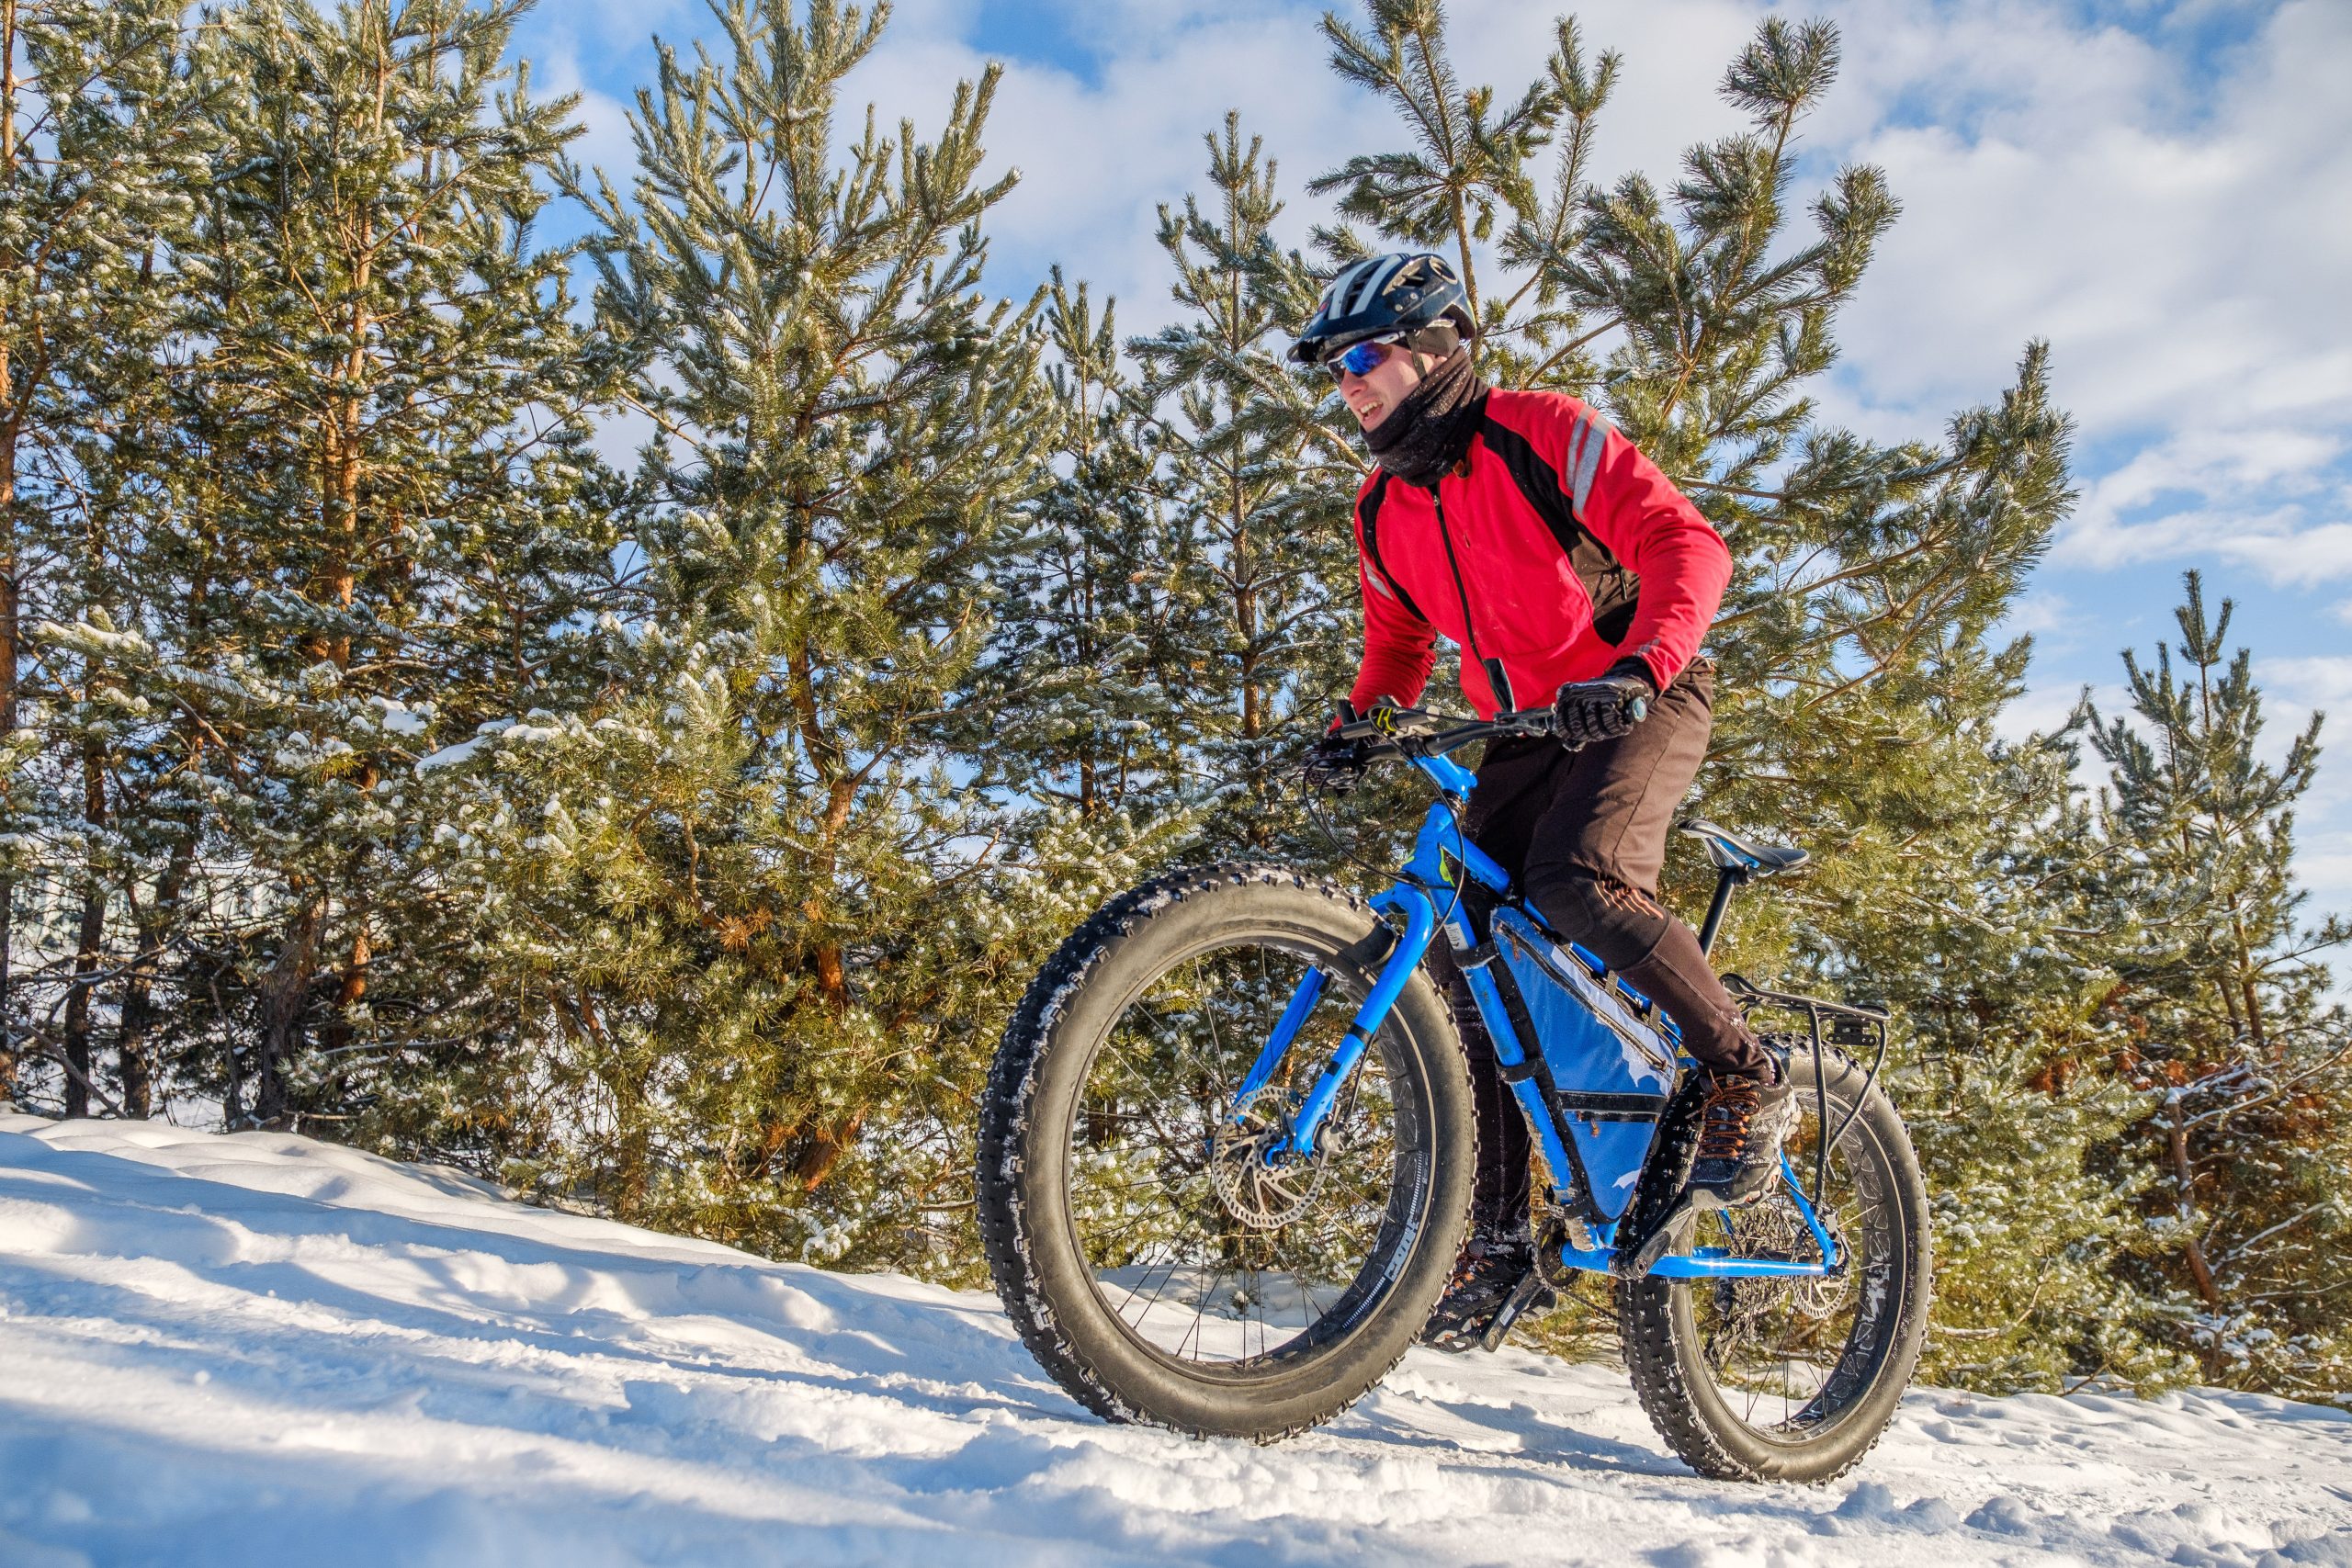
There's a different kind of thrill in conquering those uphill routes, isn't it? If you're up for that exhilarating ride, Brisbane's got some exceptionally challenging hilly terrain to offer. Here's a rundown on what you can expect and how to steer smoothly through these uphill climbs.
- Ironbark Gully: Known for a trifecta of fabulous trails, breathtaking views, and picnic spots, it makes you soak in the area's natural beauty, uplifts your spirit, and challenges the cyclist within you.
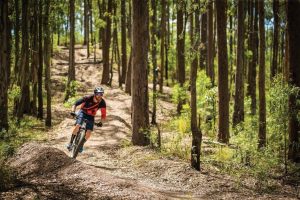
- Gap Creek, Mount Coot-Tha: This trail is geared towards more experienced bikers looking to pump up their adrenaline. Expect some steep uphill rides, rough terrains, and a spectacular view of the city!
- Cedar Creek: Here's a top choice for off-road biking enthusiasts. The side-roads around Cedar Creek offer a challenging, rocky ride that's sure to set your heart racing. Remember, biking here is more about persistence than speed.

- Northern Brisbane: The Clear Mountain area is a treasure trove of hilly trails. Expect challenging ascents, descents, and staggeringly beautiful sights. They say, the best view comes after the toughest climb, right?

Highlight: Cabbage Tree Creek Bikeway
A bikeway that truly stands out in Brisbane's bicycle tracks is the Cabbage Tree Creek Bikeway. This extraordinary route winds through the suburbs of McDowall, Aspley, Bridgeman Downs, Fitzgibbon, and Carseldine, offering you an eclectic mix of landscapes on your thrilling ride.
What makes the Cabbage Tree Creek Bikeway a must-ride is its unique path that meanders through a variety of terrains - parks, urbanised areas, and serene green spaces, giving riders a truly immersive experience of Brisbane's diverse landscape. The route is equipped with several facilities along the way; benches to rest, parks to enjoy a snack, and even picnic spots for a revitalising break in nature's lap.
The Bikeway connects with several local parks and shopping areas, underscoring its accessibility and convenience. Spanning over a generous distance, it caters to riders with varied biking appetites. All these features culminate into an unforgettable biking experience that you'd love to relive, time and again.
The Sunmono Saga
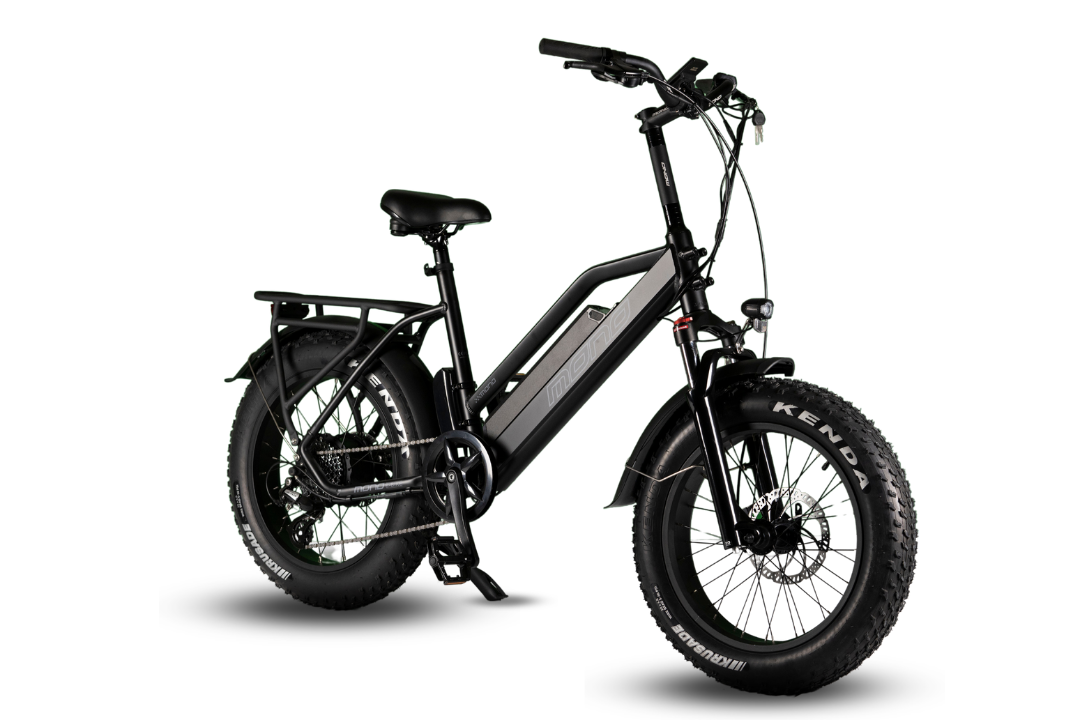
In the winding routes and captivating landscapes of Brisbane's bike tracks, we find the perfect companion in Sunmono bikes. Known for their robust build, resilience, and versatility, Sunmono bikes bring the perfect blend of performance and comfort to your rides.
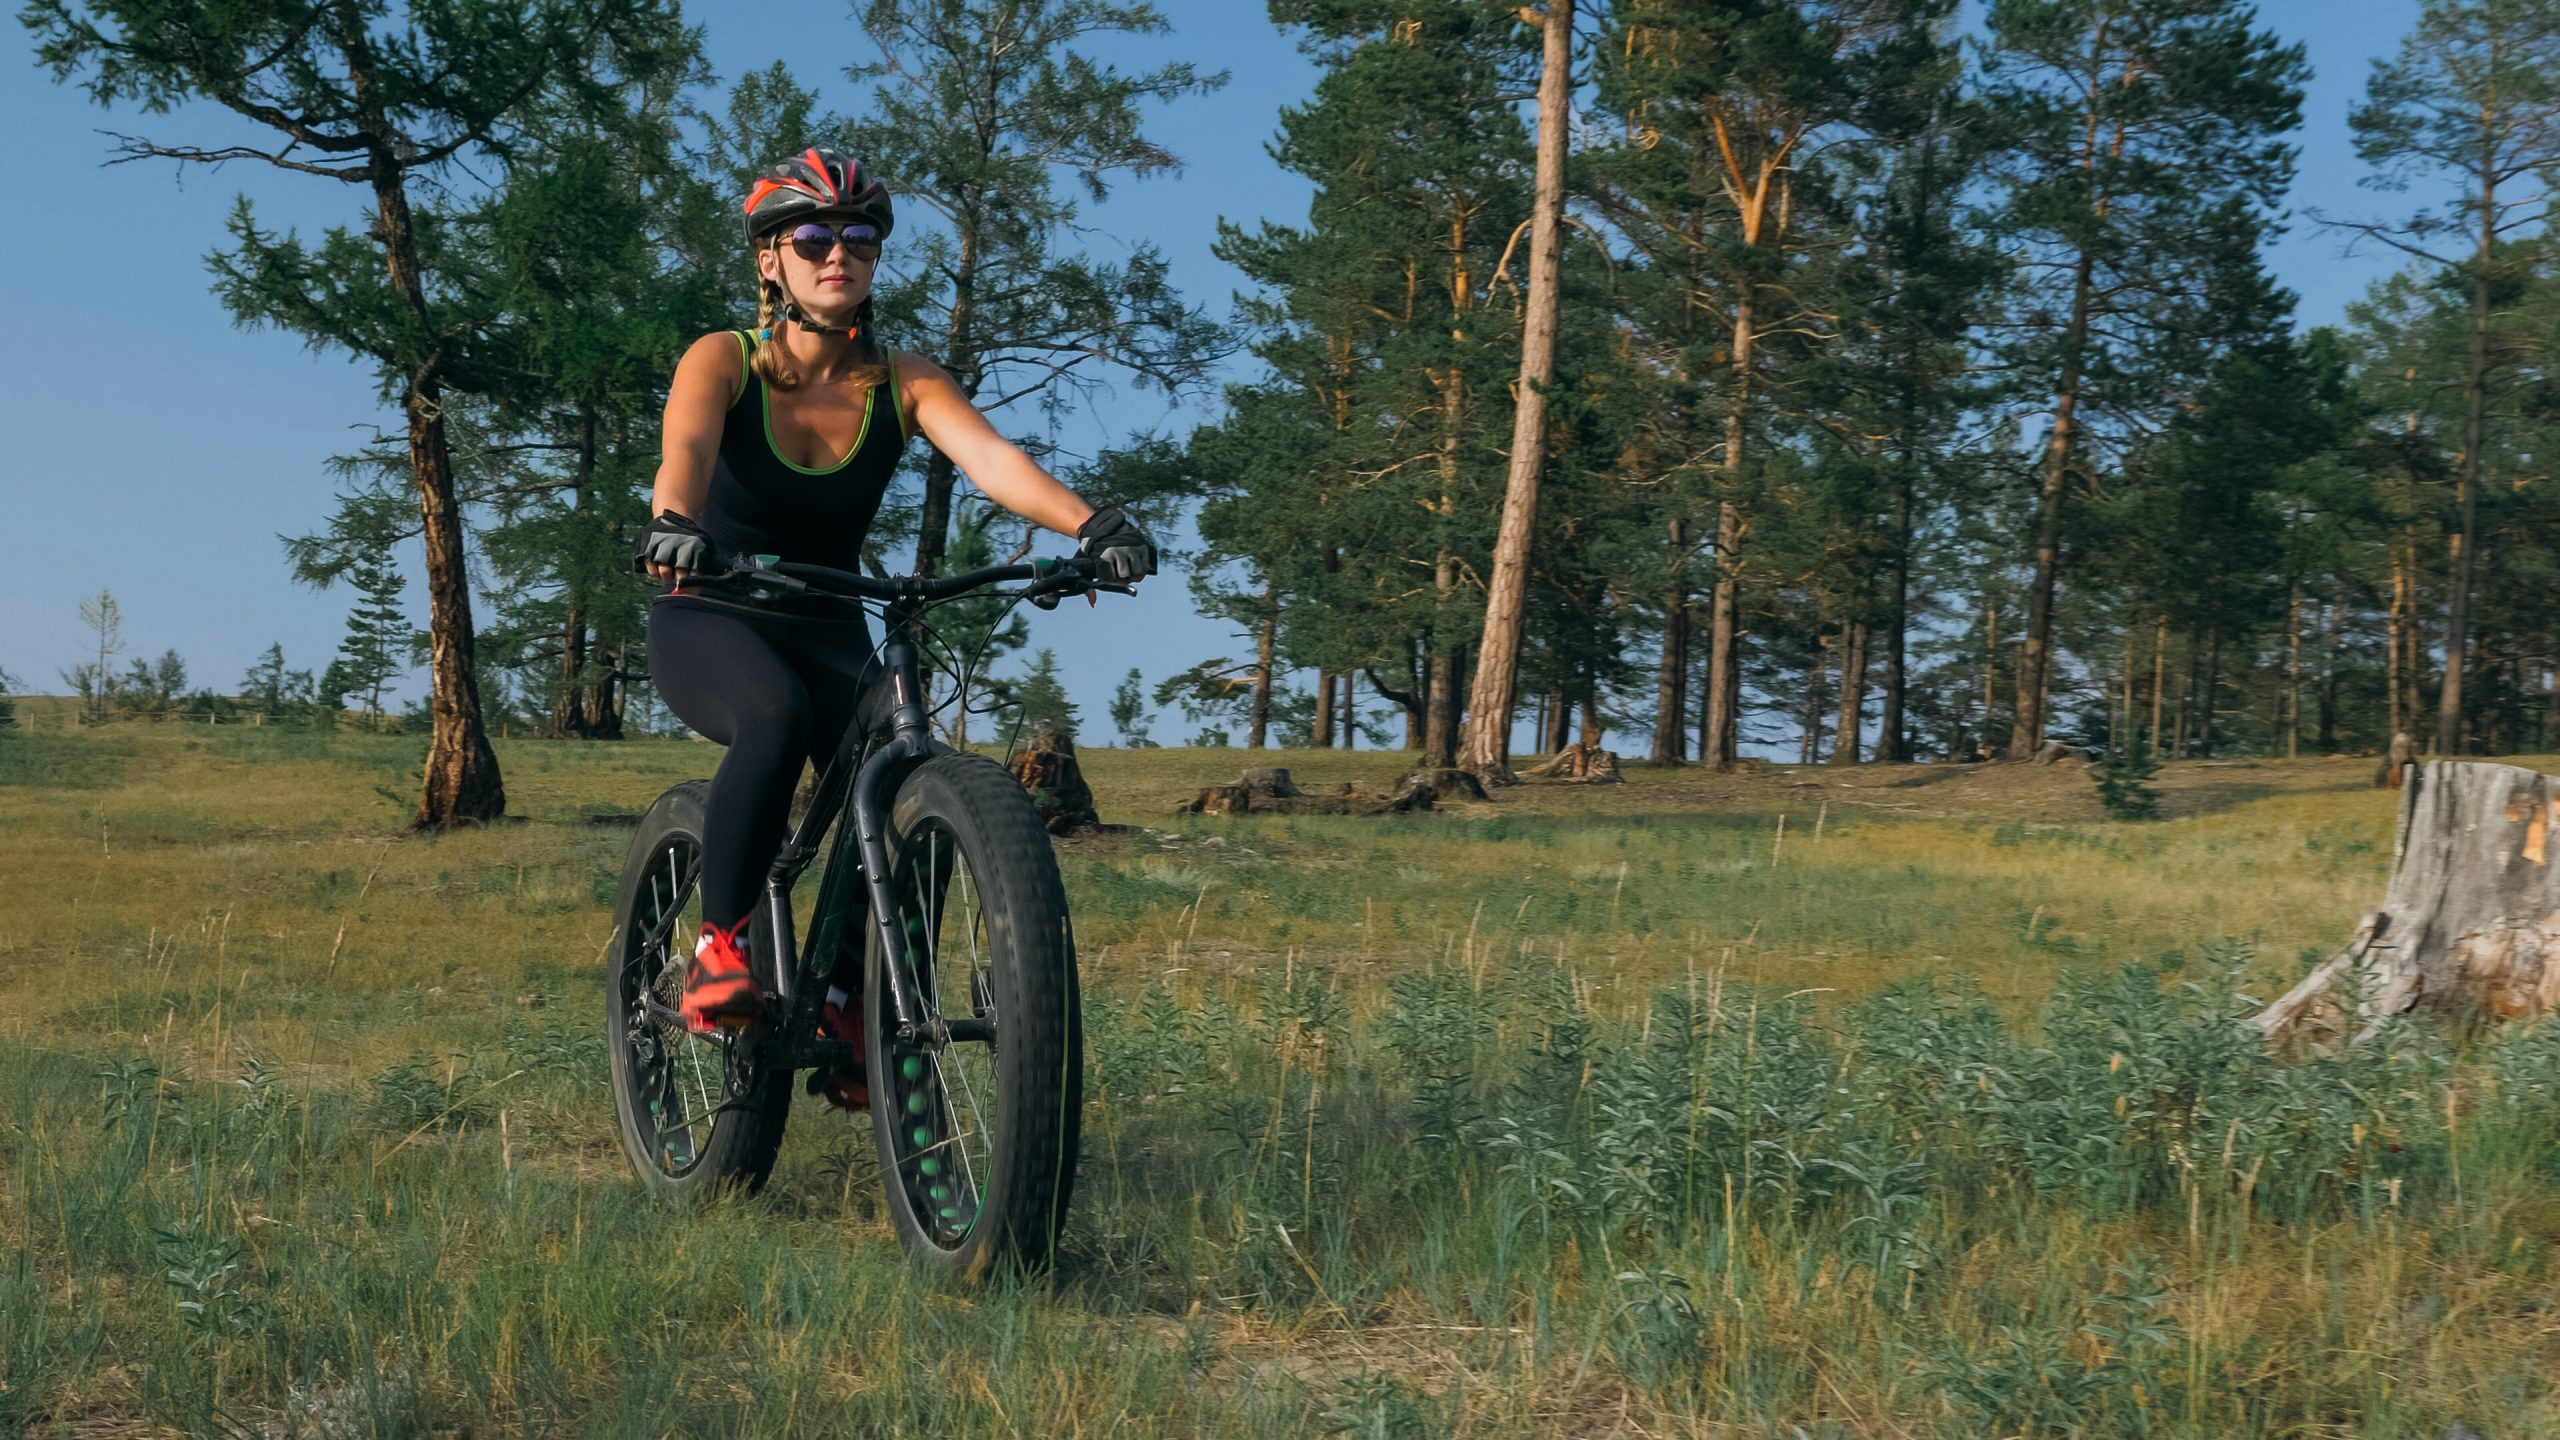
Sunmono understands that each rider has a unique journey. Hence, they present a range of bikes that fit into your biking plans seamlessly. Be it a leisurely ride along the riverside, a sunny afternoon pedalling through the city's heart, a daring uphill adventure, or an off-road trail – with Sunmono, you're always geared up for the ride.
The light yet sturdy frame of Sunmono bikes makes navigation a breeze while ensuring resilience. In the challenging terrains of Brisbane – the uphill trails, the sandy beaches, or the rocky off-roads, Sunmono bikes deliver an unmatched performance.
Choosing a Sunmono bike not only means a smooth ride but also is a commitment to a greener, healthier world. With every pedal on a Sunmono, you're reducing carbon footprints and embracing the joy of staying fit.
Selecting a Sunmono bike is an investment into better health and a contribution towards a greener planet. Understanding this, Sunmono presents a range of bikes to cater to various biking preferences and terrains. Here are a few types that you can consider:
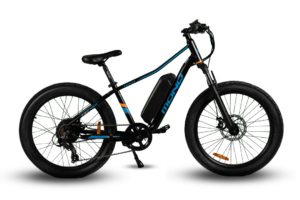
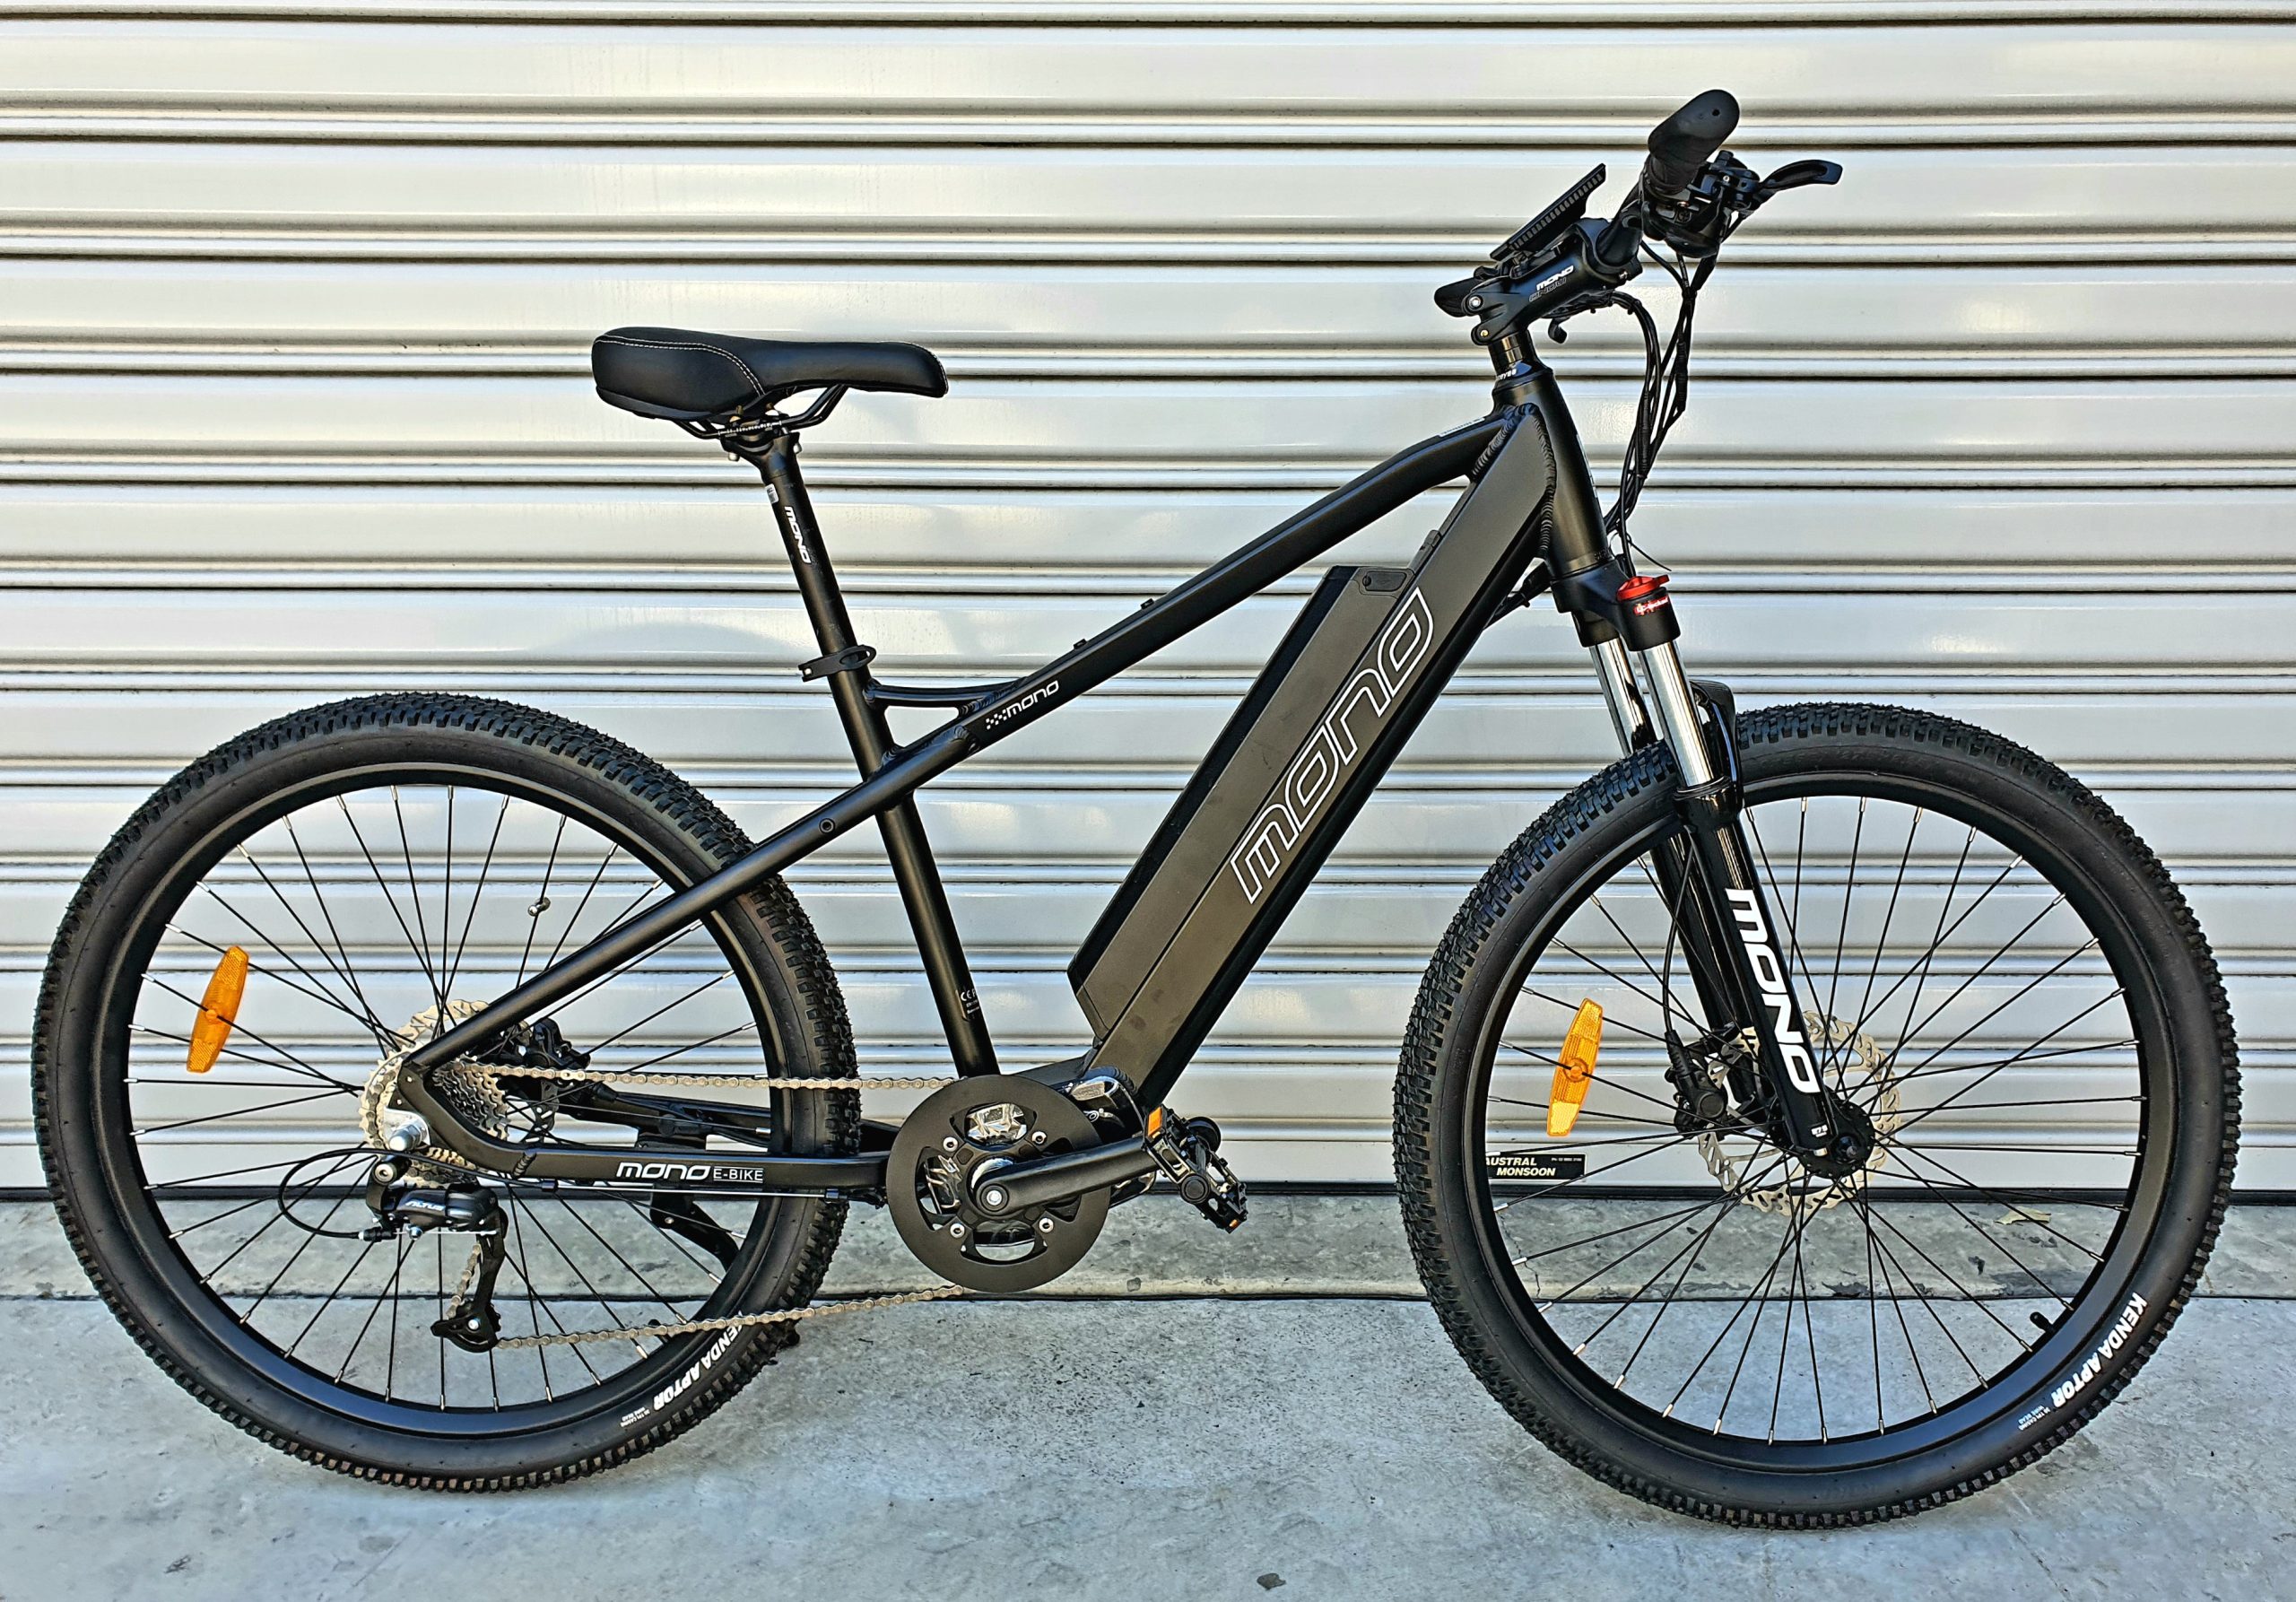
- Sunmono Titan: A power-packed performer on the rough terrains. With its 27.5" wheel size and a frame designed for stability and control, Titan is the perfect choice for challenging trails.
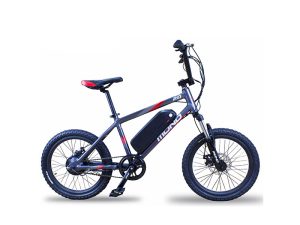
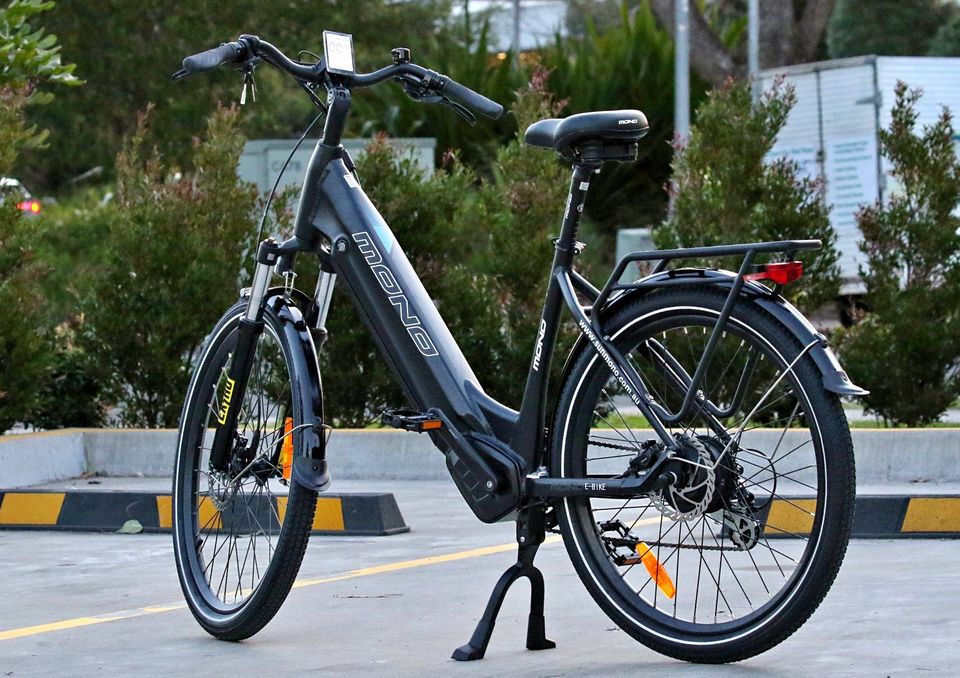
- Sunmono E-Mono: Offers variants like the 'Juno Cruiser Bike' and the 'Vega Step-through'. These electric bikes let you cruise with comfort on city roads and light trails, with that extra boost for uphill rides.
- Sunmono's Innovative Electric Commuter Bikes: Tailor-made to redefine your daily journeys! Excellent for everyday commute while striking the perfect balance between utility, style, and eco-friendliness.
Benefits of Biking with Sunmono
The benefits of biking with Sunmono bikes are like the teal hues of a summer morning - soothing, lively, and rejuvenating. Be it for daily commuting, exercise, outdoor explorations, or just a peaceful ride by the riverside, Sunmono bikes serve as the perfect companion. Here are some of the benefits they offer:
- Healthier Lifestyle: The physical exercise during biking not only keeps your body fit but also increases joint movement, enhances muscle activity, and improves blood circulation. It's a fun way to include exercise in your daily routine!
- Environment-Friendly: Every cycle ride is a small step towards a greener planet. Sunmono bikes leave zero carbon footprints, making every ride a statement of your eco-friendly lifestyle.
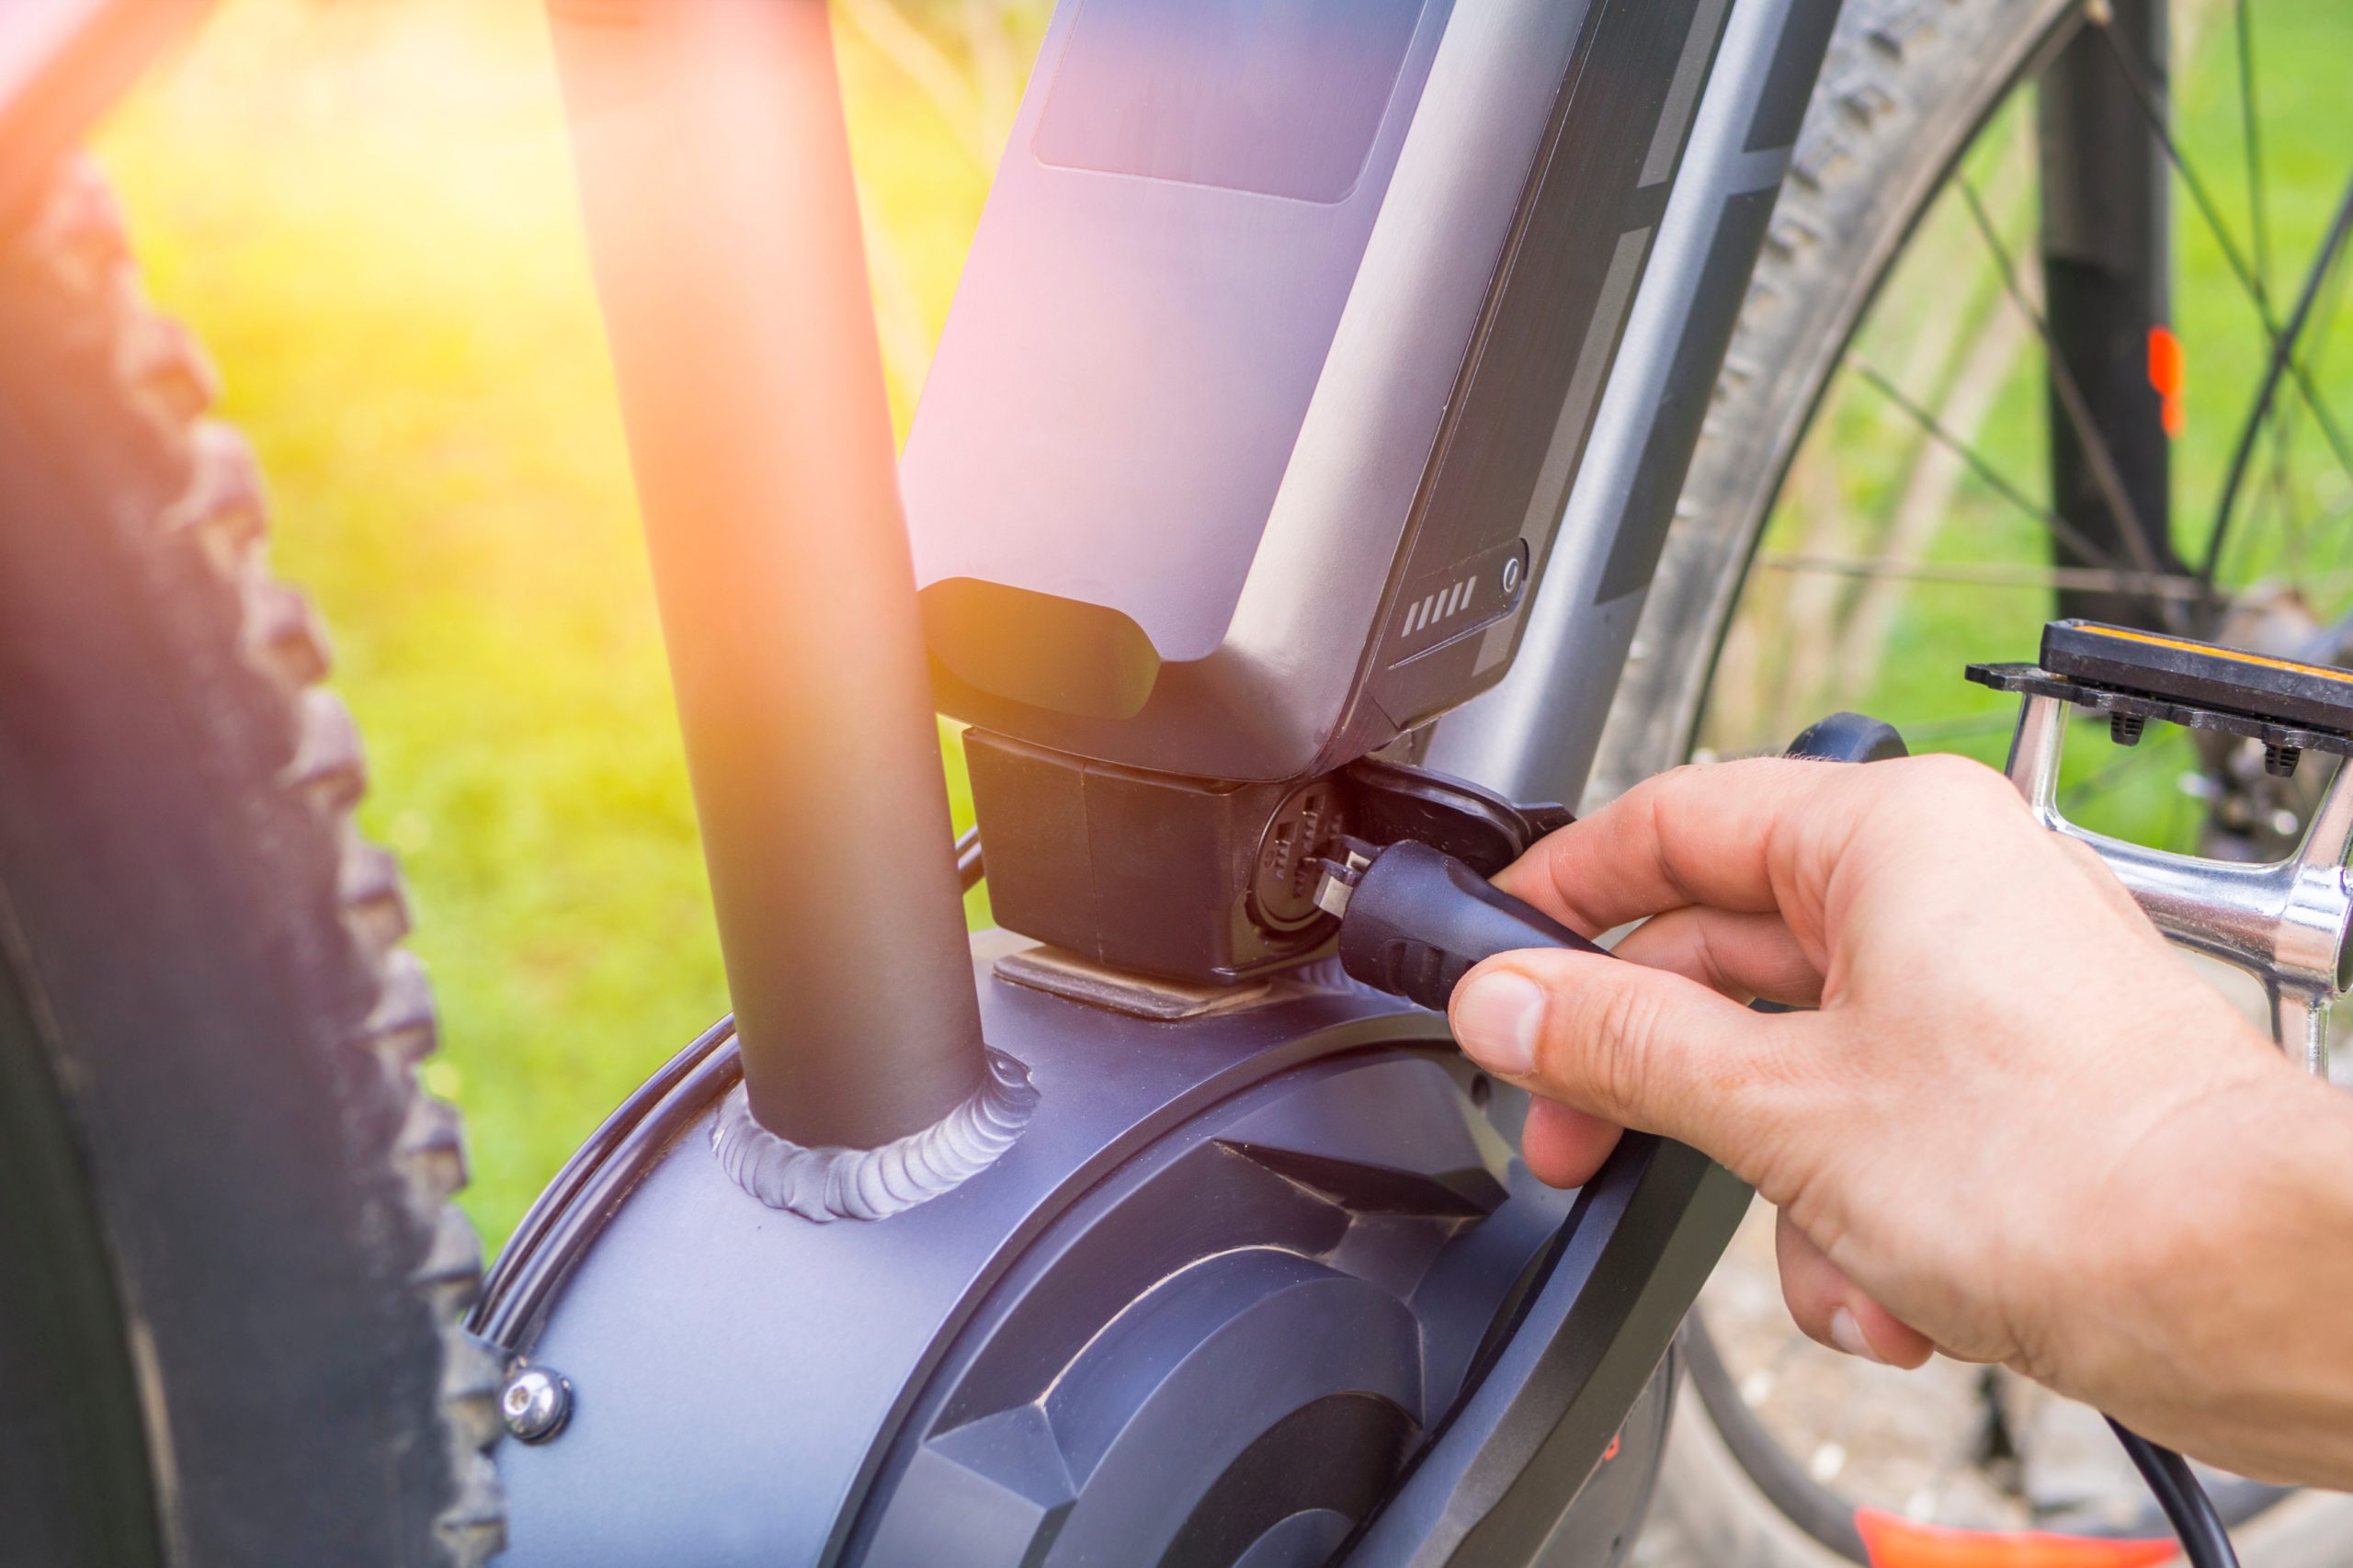
- Cost-Effective: With rising fuel prices, Sunmono electric bikes offer a cost-effective way of commuting. Plus, with Sunmono free shipping on orders over $100, the deal becomes even sweeter!
- Flexibility and Independence: Sunmono bikes give you the freedom to navigate through various terrains at your own pace. With them, each ride is filled with new explorations and experiences.
- Enriches Mental Health: A ride in the open air amid nature or a bustling city route can be a significant mood uplifter, managing stress, and promoting mental well-being.
Buying a Sunmono
Excited to get onto a Sunmono bike for your next adventure? Here are some reliable options to make a quick and hassle-free purchase:
Sunmono: Offers the widest range of Sunmono bikes. There might be exclusive discounts and limited-time offers awaiting you! What's more, you can enjoy free shipping on orders over $100.
Before finalising your purchase, make sure to check the size of the bike and read customer reviews for a clearer understanding. With an informed buying decision, you open doors to seamless biking experiences. Remember, there is no one-size-fits-all when it comes to bikes. The bike that perfectly fits you becomes your perfect partner!
Now that we've journeyed through the paths of exploring bike routes Brisbane, understanding bike terrains, highlighting noteworthy routes, knowing the advantages Sunmono bikes accord, and finally, procuring a Sunmono bike, you're all equipped to paddle on your biking adventures!